1: First things first lets get the programs needed for this set up, There are only really 2 basic things needed for this, The first being the program itself OFC and the second being a nice skin with nice options, Download both from below.
Download XBMC here
Click here to download the Skin for XBMC
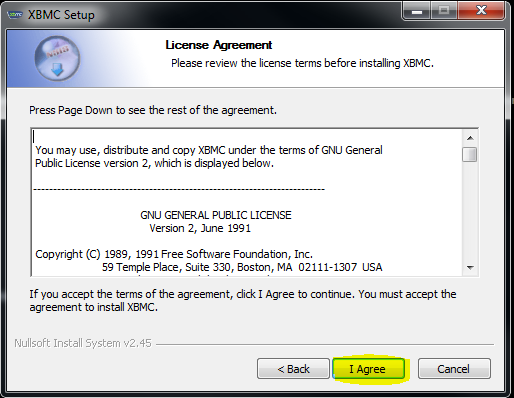
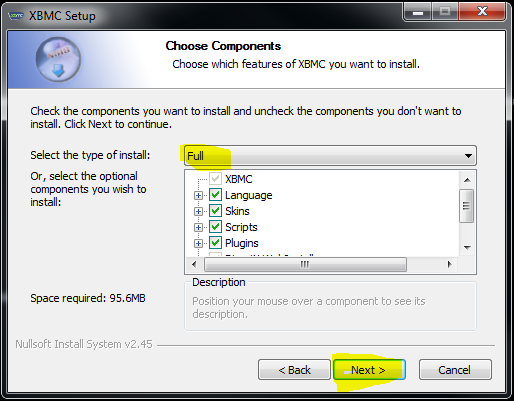
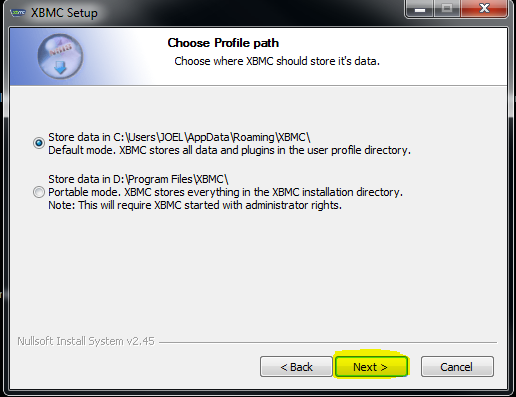
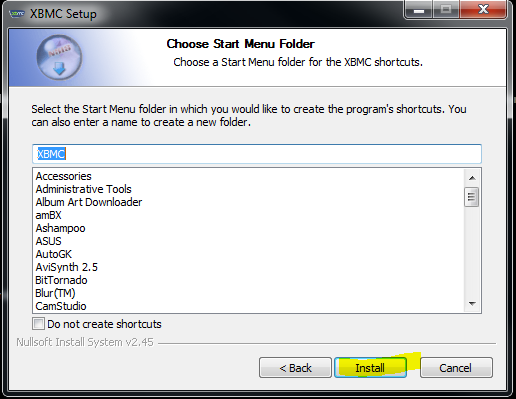
2: Now we have our programs needed lets start, Start by double clikcing the XBMC installer And installing XBMC using the default settings, Like Below.
(just select the highlighted buttons like bellow)

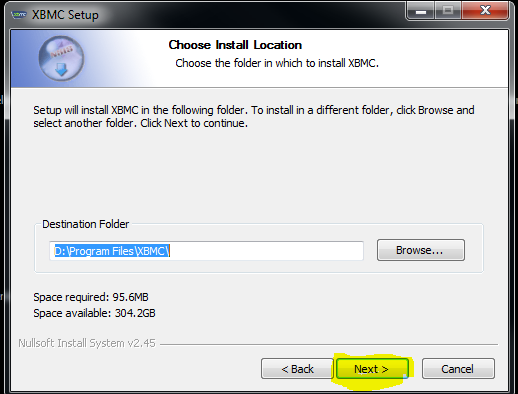
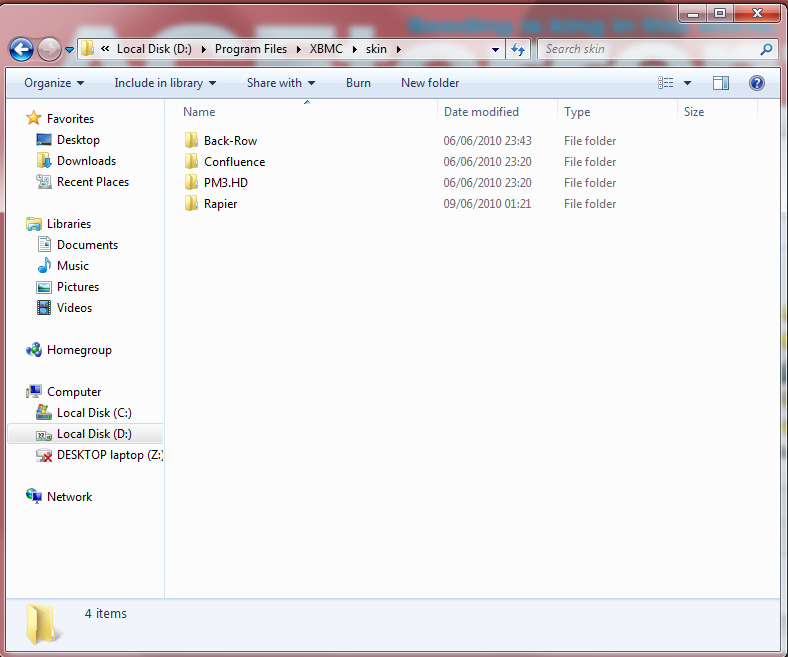
3: Now that should have installed nicely, Next thing is to add the new sking we just downloaded, To do this just goto this folder location,
D:\Program Files\XBMC\skin Instead of d: drive yours may be c: drive.
4.Now extract the content of that skin zip file to that folder location above and you should now have a folder like mine bellow like bellow,
(don't worry if yours has more or less than what mine has as long as the rapier skin folder is in there.
5: Now we have the skin in the correct folder it is time to run the XBMC. There should be a application link in your start menu and/or on your desktop.
Just click that and wait for it to open, This will be full screen so i suggest you remember to use the Windows key whenever you want to select the explorer to look at this tutorial again.
6: Now we have it running you must remember that most things now are gona be run by the keyboard however you can still use your mouse to a sertain extent so we will just carry on, Stray to the options button and click it, Either with your Mouse but doing it with the keyboard is easier just use the left right ect to move the menu across and select to select it.
7: Now you are on the options part go to the skin section and click down until you see the rapier selection, Now just leave it on that and backspace button on the keyboard, Your XBMC should now change it's appearance,
8: Now seeing as both movies and tv options are the same for the following part of the tutorial i will just show you the one for Movies.
First of all strafe to the video's button and hit enter You should be presented with the following screen.
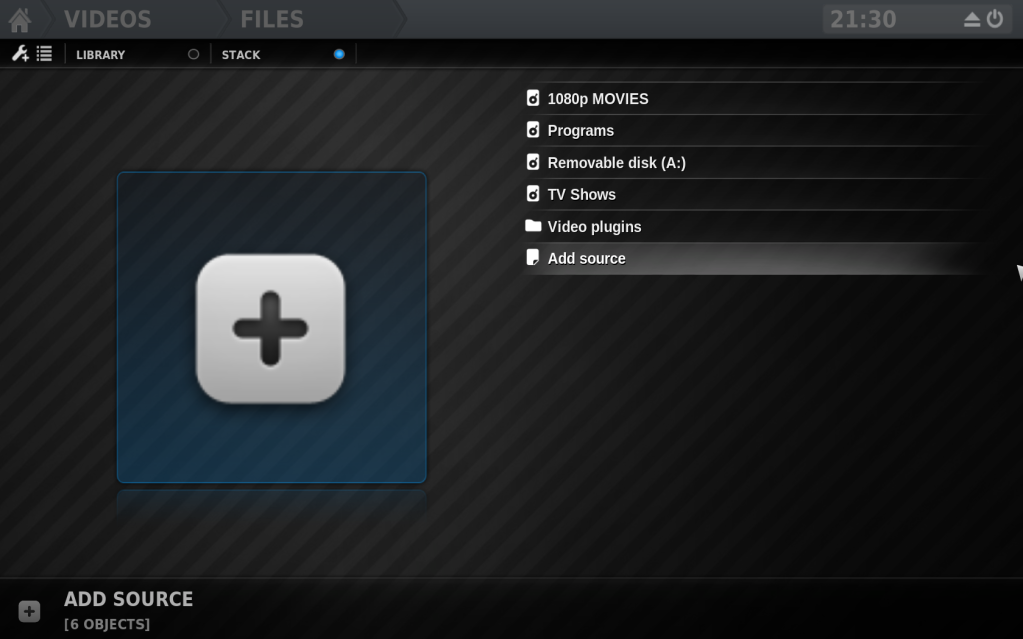
9: Now on that click the Add source button and that should present you with something similar to this:
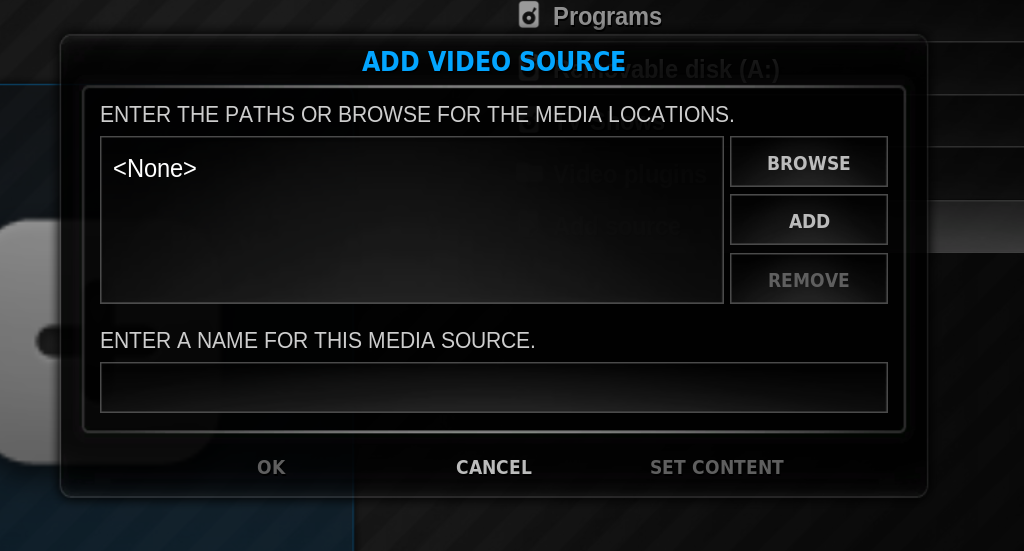
10: Now just select the folder where you store all your films now it is best if you have all your films in one section if not just follow this step a few times for each Movie folder you add.
11: Now you should have the folder on that screen, Now right click it with the mouse and select the, Set Content Button, This should display another window.
12: Now Next to where it says this directory contains it should have a option set like Movies, TV or whatever followed by to arrows, One pointing up and the other pointing down, Just press the arrow pointing up a few times until it says Movies, (For TV do the same but set it for TV).
13: Now on that same window there should now be Another few options the first of which should be what scraper to set, Now this should be set to IMDB as all the others will not work for the newer films you are bound to have so just select the IMDB option.
14: Just underneath there is a few other options just select the Scan recursively And the Run Automated Scan, After that just click OK.
15: Now If you look to the top of the screen on XBMC it should show as the folder/folders are being searched this can take anything up to 20 Mins when there a few films in the folders.
Please note the films must be named correctly in the folders you set, I.E If you have just download avatar for example you would have call it Avatar 2010 and it must be a single file either .avi or .MKV or any kind of film file inside the folder you selected.
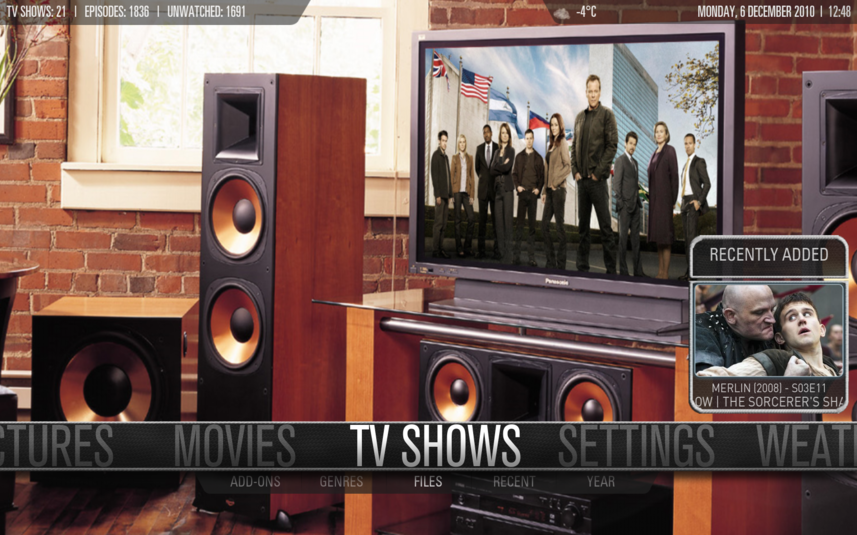
16: Last but not least we have to make the files look good, To do this click backspace on the keyboard a few times until you get back to the home screen then strafe to the Movies button and click enter, Now at the top of that page make sure the Library option is selected, then go to the little spanner and + button at the very top left hand side of that window and select it with the mouse, Then click the first option to the right again with the mouse and select View: List Info 2 option.
You should now have a very very nice looking movie index to watch any film you have on, Like mine.

That's it then enjoy your New XBMC setup.
If you need any help at all with this then please post it bellow and i will do everything i can to get you sorted.
Another little update to this tutorial for anyone that owns a Android phone.
Well while i was browsing the XBMC site a came across this and thought it would very very handy, and indeed it is, it is a remote that can be used from anywhere in the world and is very very usefull,
Here is a link to it, And i will now show you how to install it.
http://xbmc.org/freezy3k/2010/07/13/official-xbmc-remote-for-android/
1: First of all install it, now you can do this by scanning the 3d barcode on the above page, or just open up the app store and search for XBMC and it shopuld be there.
2: Now when installed start the app allong with XBMC and on XBMC goto the setting tab and click enter.
3: When that opens click the Network tab And select all the otion there, then set a port, i would sugest 667 however it can be anything, Next set a password and username and click back to the main menu.
4: Now on your phone there should be a few options, so click the Settings tab and then you should see a few more options.
5: Now on that screen you need to click the discover hosts button which should search for a host, Now if your running your XBMC on windows this will not find the server, which is fine.
6: So nowyou need to click manually add host, Give it a title like XBMC home or somthing like that, then put the username and password you set on XBMC, After that You need to find your Host/IP and the port, so first put the port to what you set it on XBMC in my case 667, then go back to XBMC.
7: Now on XBMC you need to scroll along to the System tab but do not select it, just rest on it. When on it ou should see an IP, this is the Host/IP your XBMC server is running on, so Write that number into the host/ip section on your phone.
8: After you have done that scroll down a little on your phone to where you can see it says, Away From Home (3G Network), Under those 2 setting select the Auto Setup Tab ths will search your hiome connection to find the best way to access your XBMC server when your away from your home connection.
When done just click Done And select your new Server.
Thats it, you now have a fully working remote with very little lag/delay, between your phone and your XBMC server as there poth running on your home network.
Also a New adtion i would like to add is the new Rapier Qualar mod theme, it has a load of new features and looks very very nice, The contrasting white with the grey/blue looks awsome and aslo ha a few more new layouts for Movies and Tveps
The new theme can be found here, http://forum.xbmc.org/showthread.php?t=65922
Hope this helps some of you, i know it helped me a lot, If you have any questions on this again feel free to P.M me

Update 3
This is how to update to the newest versions faster (for Windows Only)
1. First of all your gona need to download two things,
Rapier qular mod for Dharma Branch: http://www.mediafire.com/?j3comxedaz63bf1
And The Updater here: http://xbmcupdate.googlecode.com/files/xbmcupdate_0.8.0.zip
2. Now you should have two zip files however for now we are only going to unzip the updater, So make a new folder on your desktop and call it XBMC Update And unzip all the files in the xbmcupdate_0.8.0.zip folders contents to there.
3. Next we need to get the theme again now this is a little more simple but also more tricky if your used to just dragging new themes to the XBMC skins folder (Which we don't want to do), So first find where the Qualar Rapier 3.81.zip is saved to and drag it to your desktop (please do not unzip this folder as we are gona need it as a zip file later)
4. Now We have everything ready so goto the updater folder and run the XBMCUpdate.exe And it should start and look like the bellow picture:

5. So now you have it running on the program there should be a box that above it says XBMC location and just to the right of that box should be a browse button, Click that and browse to where XBMC is located (I.E, c:/programfiles/XBMC) And then click OK.
6. Next just click check for updates and let it have a quick check, If it finds any it should come up with a dialog asking if you want to install the updates, Just click yes and let it run (it may take arround 2-10min depending on your connection speed).
7. Now when done you should have the most updated version of XBMC, So run it like you normally would, Now You may nitce you have a totally different theme set and you wont be able to find your other themes, This is because the themes you had are not compatable with the newer version of XBMC so that is why we downloaded the Dharma Branch version of the theme and also why we had to leave it in a zip file,
So On XBMC goto system and click on Appearence the click The Right arrow on the keyboardand then press enter, That should open this dialog like bellow:
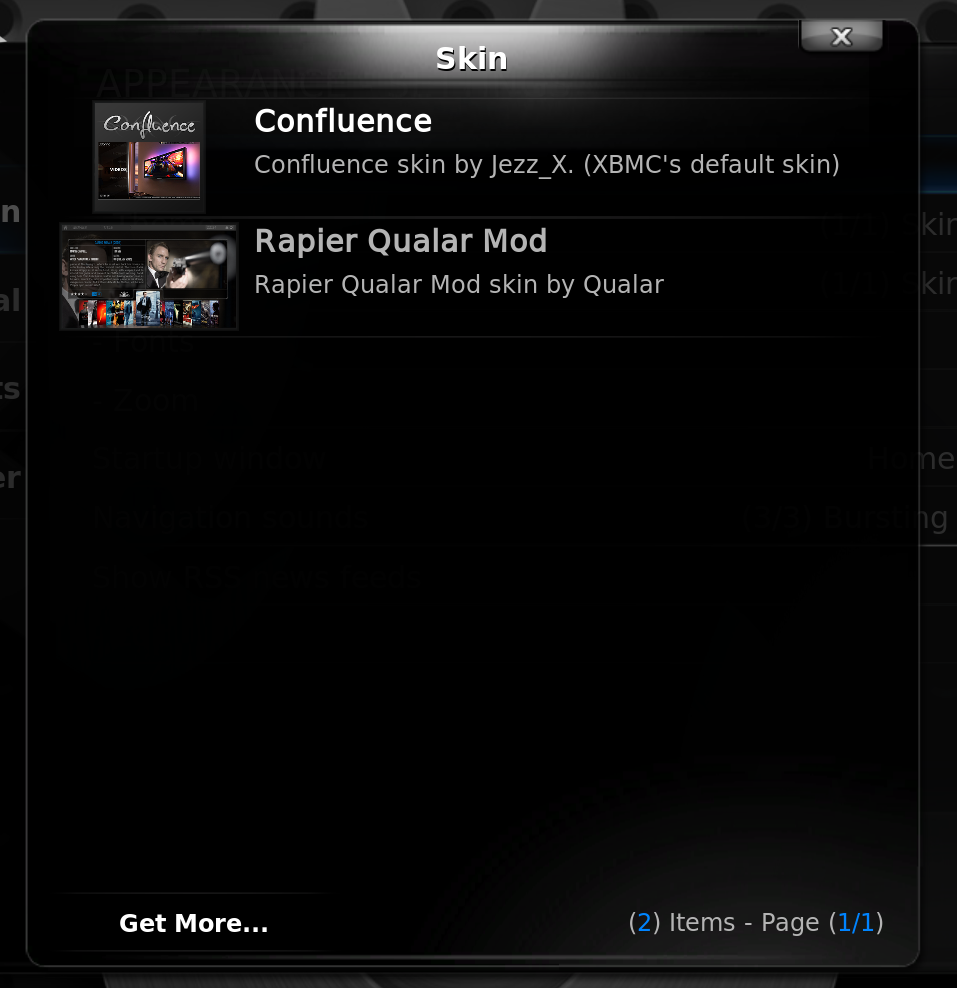
8. Now using your mouse click the Get More Button to the bottom left of that window, Now on there you shouldn't see anything don't worry about this just press Enter twice and now you should have 4 options like bellow:
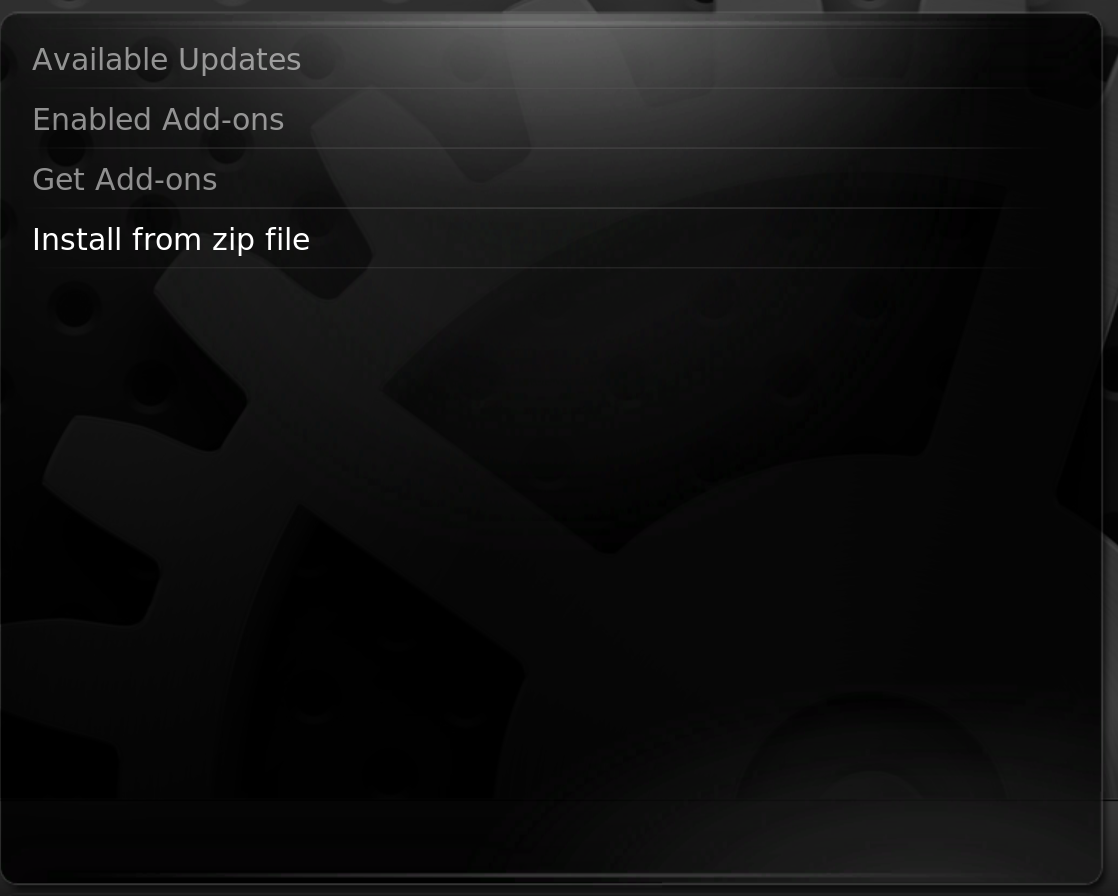
9. So on there click the Install from zip file Button and browse to the Qualar Rapier 3.81.zip File we have on the desktop and click select it, The window shouls now disapere and in a few seconds you should get a little message saying somthing allong the lines of mod install or theme installed ect.
10. So now we have it all do ne nearly, One last thing to do is go back to your home screen and go back to your System Then Appearence and click again on the skin button to the right hand side and select the theme Rapier Qular Mod now let it load then click backspace twice.
11. Thats it sorted Once again the IMDB scraper should work again and everything else should work nice and fast. So have a browse through everything as there are some nice new additions and addons available.
Update 4
Please note tutorial section goes on the basis that you have upgraded.
Download and install the new and best theme
First of all download the files from here: Click here
On that page select downloads and download the .zip file.
And save the file to your desktop (makes things alot easier)
Now open XBMC and go to your settings that should open the Appearance settings by default like bellow,
Now using the keyboard, click right and click Enter then on that next box click Right then click Left that should now have you on the Get more selection like bellow;
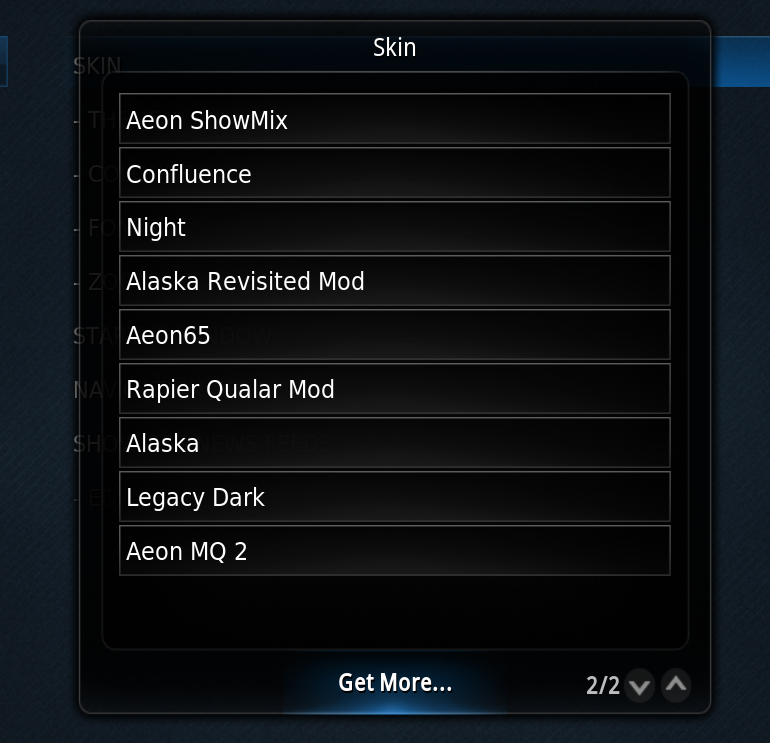
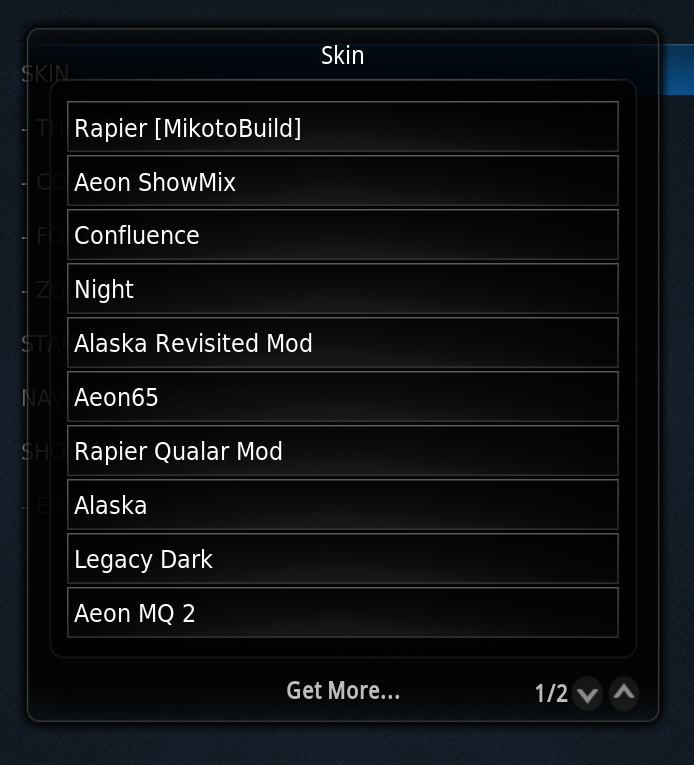
Now click Enter and that should bring up this box like bellow:
[img][/img]
On there click enter twice and then click Install from zip File, Browse to your desktop and select the Aeon65 skin we just downloaded that should be on your desktop, Select it and click OK And that should now install the Aeon65 theme. To change to the theme simply click ESC And go back onto your settings then click SKIN and click right Now from that box select the Aeon65 theme and let it load.
That's it you now have an awesome new theme which in my opinion is the best out of the lot up to now. Now carry on reading this tutorial to see how to add Tveps to your Tvshows cat and make em look good.
How To Add Tv Eps
Please note tutorial section goes on the basis that you have upgraded and have installed the Aeon65 theme.
1: First we are gona set the actual Tv episodes up so that XBMC can read them, To do this is rather simple, So first make a new folder (in the directory your gona put your TVeps) And call it TV episodes, Next open that folder and inside is where all your tveps will go, So for example if you have Stargate Universe: You would make a folder called Stargate Universe and inside that you would make another folder for the seasons, So say you have all the seasons for SGU you would make 2 folders inside the Stargate Universe Folder, One Called Seasons 1 And the other called Season 2 (You would do this for all your tveps that have multiple Seasons.
Here is an example of Tveps Folder:
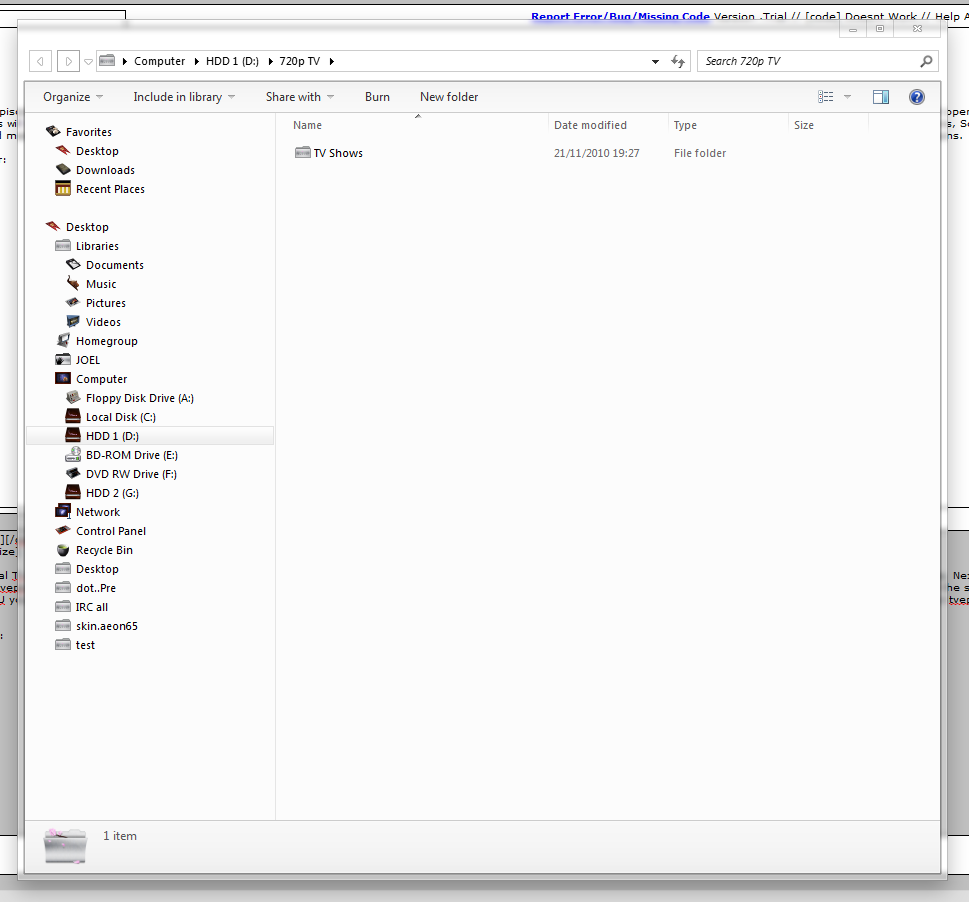
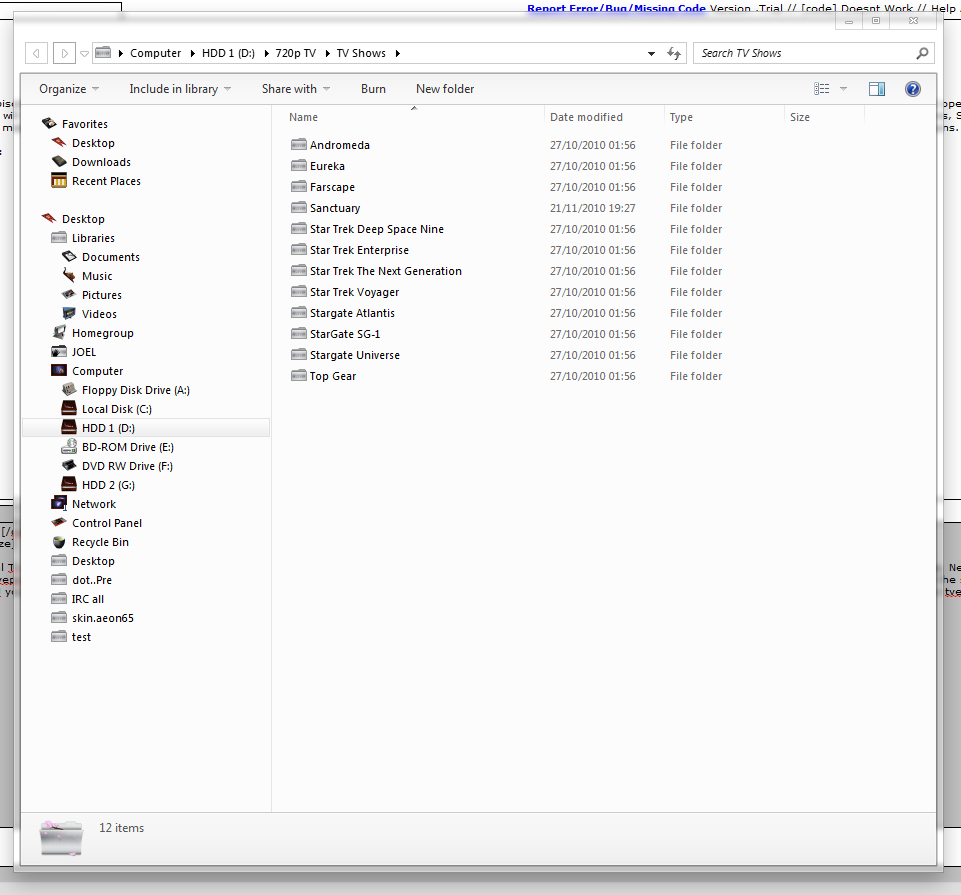
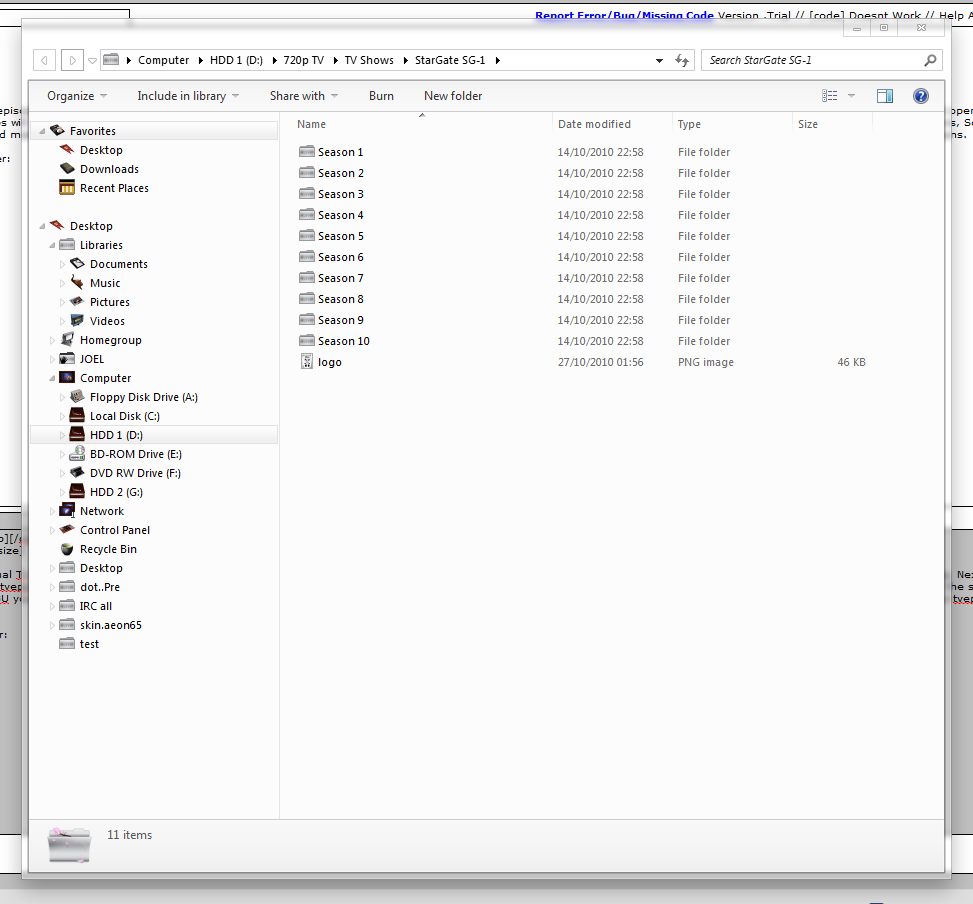
If it looks like those pics then your ready to move on, if not have a read through the above again and see if you can sort it out
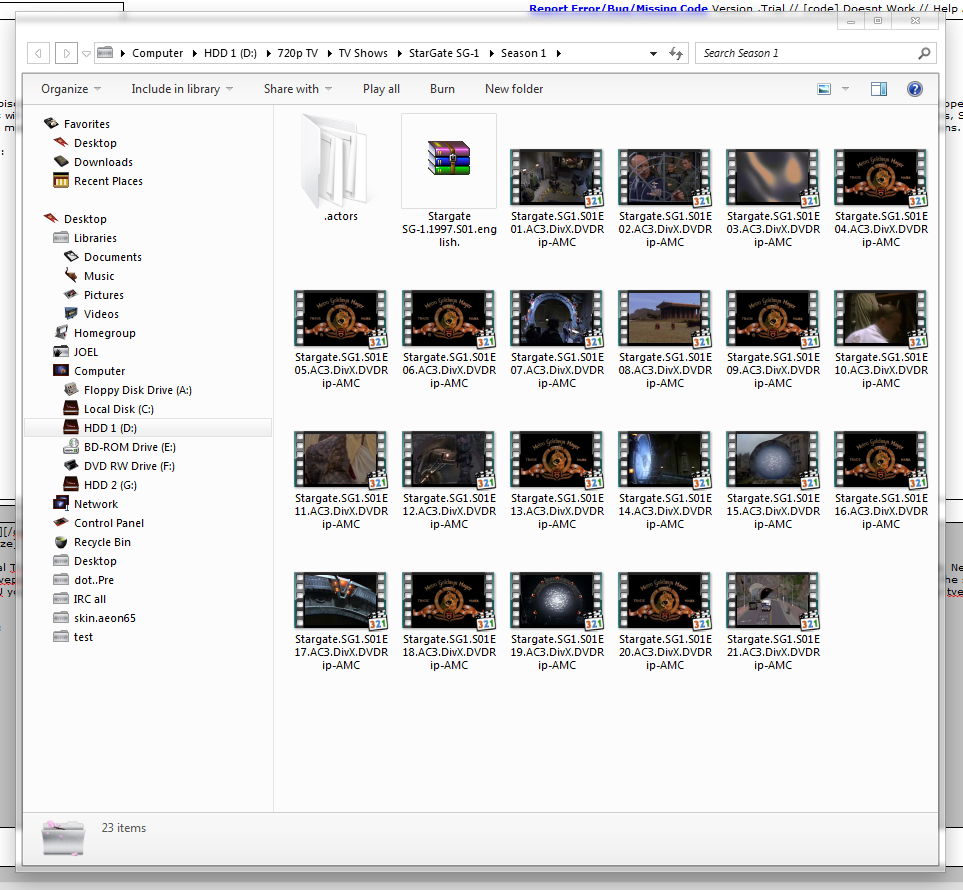
2: Now as you can see by the last picture I posted, The naming of the files is pretty nice in XBMC as all you have to make sure the files have is there name I.E: Stargate.SG1 And the season number I.e:S01E01 So as long as you have those two things on the shows name your not going to have a problem with XBMC.
3: So now we have all our Shows sorted out into files correctly and XBMC can now read what is what, However we still have to do a little tinkering with XBMC setting now to get them working so for this bit to make it more easy I decided I would use Pictures to show you exactly what I mean every time for a reference. So here goes:
3.1: First Open XBMC and goto the TVshows section and press down on the keyboard, Next go across LEFT to files and click ENTER, that should now bring up this box like bellow,
Pics:
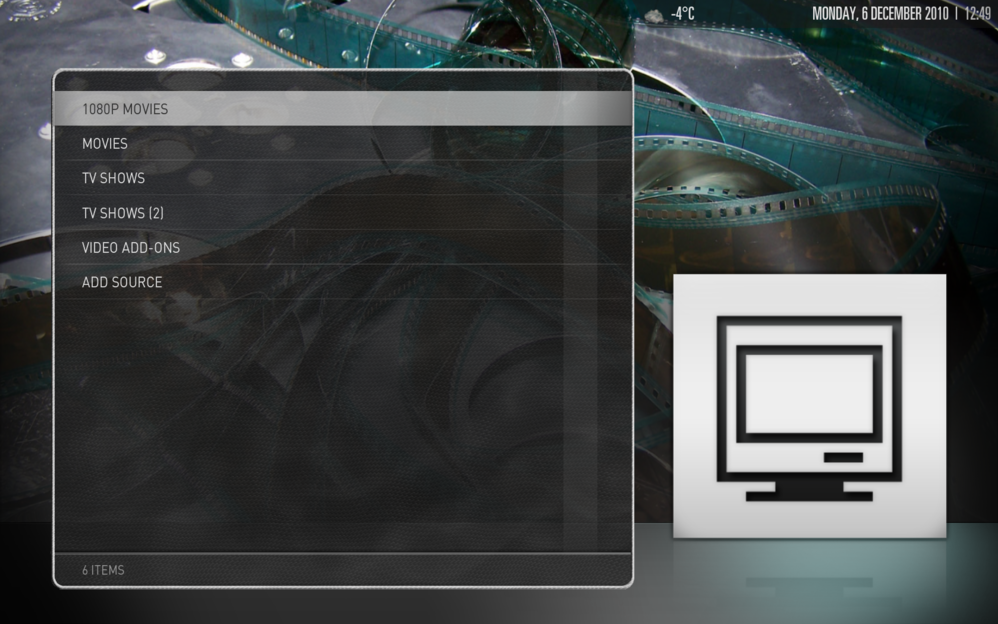
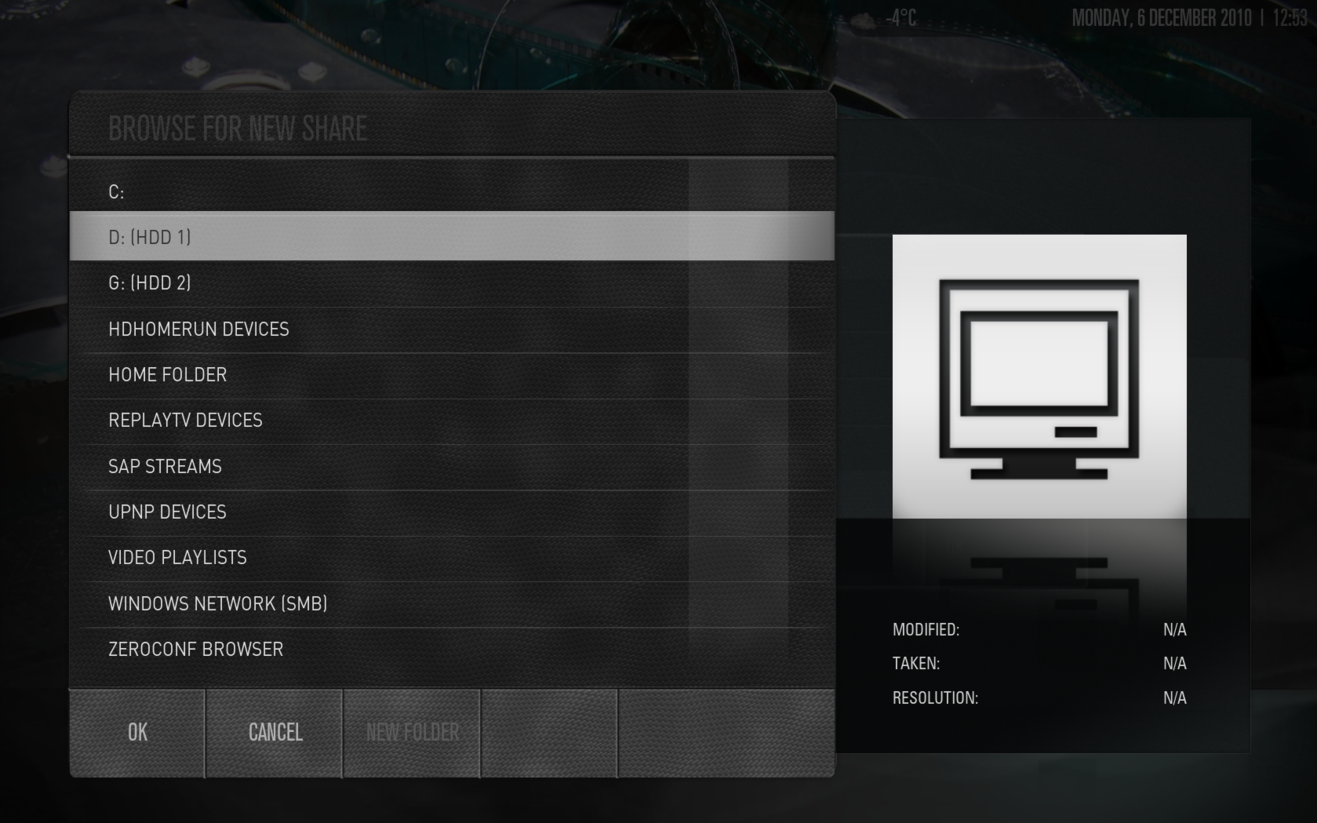
3.2: Now on there you shouldn't have any files (like I do) unless you have already added your films and tried to add Tveps, So now click down to Add Source and click Enter then Enter Again, That should now bring up a new box, like bellow, So now browse to that first folder we made called TV episodes and and click enter on it, (Again like bellow).
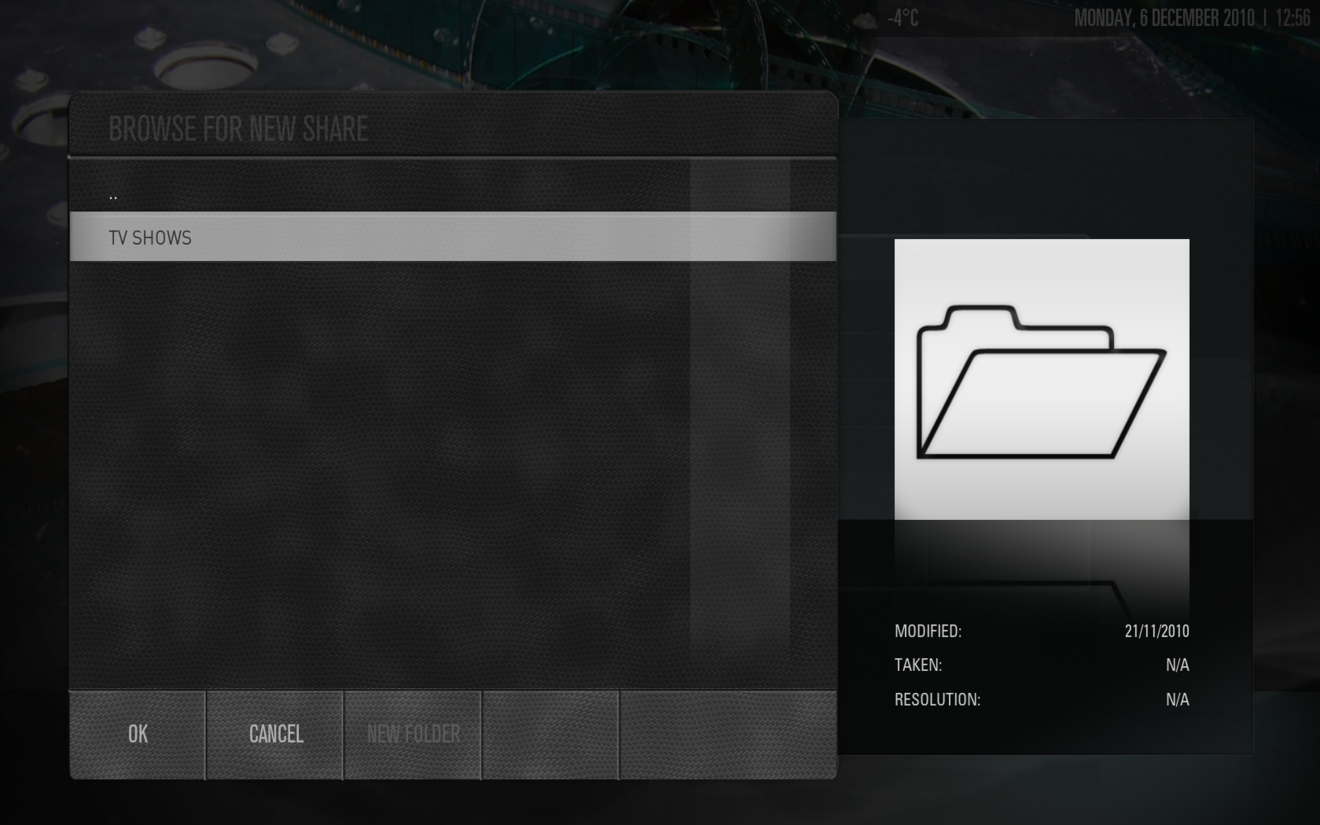
3.3: So now resting on that folder, using the keyboard click Right Then Enter And that should bring up the following screen:
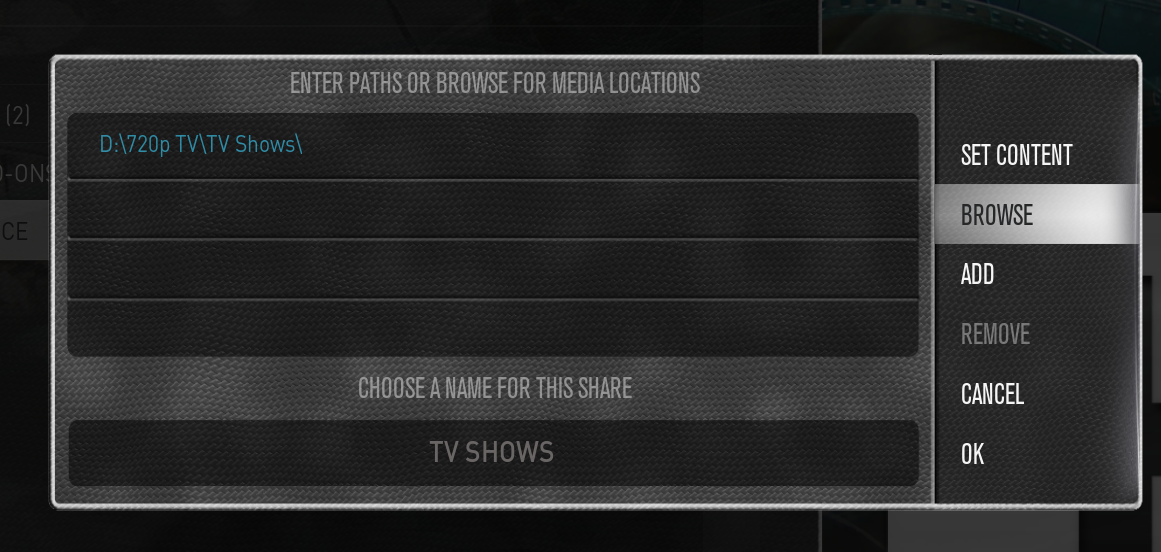
Now you can see the Set Content tab so using the keyboard select it and click Enter to bring up this screen:

3.4: So now it's simple enough just make sure your screen now looks like mine bellow:
Then using the keyboard again click OK.
4: so now we have our folders set-up and XBMC set-up to see the folders as Tv episodes, So next all we are going to do is let XBMC search the folder, To do this is rather simple and has two ways, However we are going to just use one which is to, while on the source page rest on the new source we just added and (using the keyboard) click C And on that next box click Scan for content that should now scan your files and add all the content to your Tvshows library on XBMC, so finally click Esc on the Keyboard (Top left hand side) to bring us back to the main screen.
0 comments:
Post a Comment