Before installing Deluge, you need to have the following applications installed:
1. X11-Although X11 installs by default on Snow Leopard, ensure that you have it by looking in Applications>Utilities. You may want to verify that you have a recent version of X11 by checking the XQuartz/X11 site located here.
2. Xcode-Go to the Apple Developer site and download Xcode. Free registration required.
3. MacPorts-Go to the MacPorts install page and follow the instructions on how to download the latest version of MacPorts.
Once all of the above applications have been installed, open a Terminal window and enter the following command:
sudo port install boost +python26 deluge
When Terminal prompts you for password, enter it and hit return.
it should look like this:
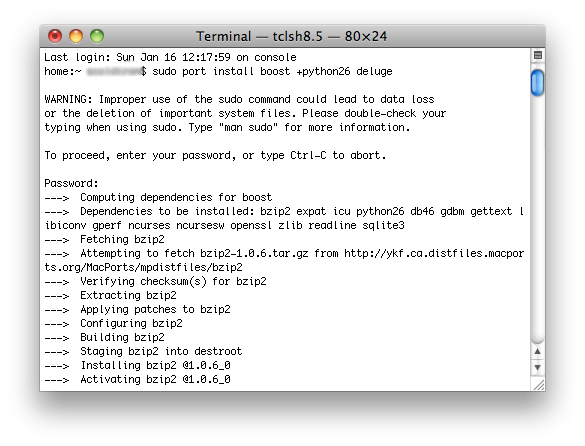
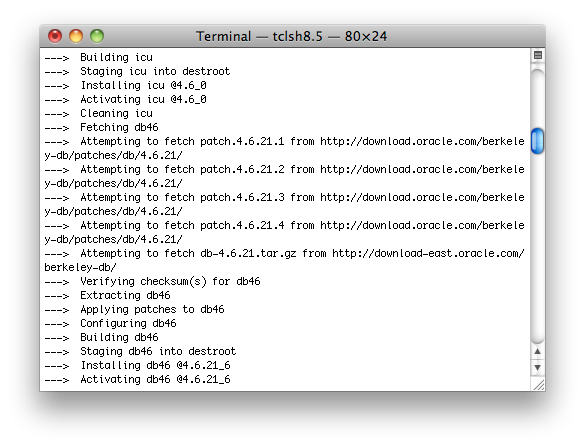
The Terminal window will show the process of building all of the dependencies required for Deluge 1.3.1. This process will take a couple hours. It will look something like this;
When the process is complete, in the Terminal window enter:
deluge-2.6
to start Deluge.
A couple things should happen after you enter this command. First, you'll see a Terminal window open and begin running commands and then shortly thereafter you should see the Deluge GTK interface. Keep in mind that X11 is running Deluge so to quit Deluge, you need to quit X11.
That should be it! See the Deluge FAQ page for more information on how to use Deluge.
Extras:
You can set up a Deluge icon in your dock by doing one of the following two options:
Option A.
1) Create a script in gedit titled "Deluge GTK" or something similar with the following code:
#!/bin/bash
deluge-gtk-2.6
2) Put this file in your Applications folder.
3) Open Terminal and navigate to your Applications folder, then enter:
chmod +x "Your Filename Here"
This step will make the file executable, allowing Deluge to open when double-clicked.
5) Find an image of the Deluge icon, like here for instance and save.
6) Using Finder, Command-i (Get Info) the executable file you created in the previous steps. Now, open the Deluge icon image file in Preview and Command-a to select all.
7) In the info window for your executable file, click on the icon in the upper left-hand corner and paste (Command-v) your image file.
8) From your Applications folder, you can now drag your new Deluge icon onto the RIGHT side of the dock. You should now be able to open Deluge by clicking the icon in your dock.
Note: If you wish to put your Deluge icon into the left (Application) side of the dock, see below for Option B.
Option B.
1) Open AppleScript Editor (Applications>Utilities).
2) In the blank window that appears, enter:
do shell script "/opt/local/var/macports/software/deluge/1.3.1_0/opt/local/bin/deluge-2.6"
3) Save as "Deluge GTK" or something similar in Applications and change file format to "Application".
4) Test the script by clicking Compile, then clicking Run
5) If everything goes as planned, Deluge will open.
6) Next, paste the Deluge icon image file onto the icon of your AppleScript file as described in Option A. Drag the icon onto the left side of the dock. Click to open Deluge.
One More Extra:
Xcode is needed only to build the program. Since it is of significant size (~2gb), some users may wish to remove Xcode once Deluge is installed. To completely remove Xcode, from a terminal window enter:
sudo <Xcode>/Library/uninstall-devtools --mode=all
where <Xcode> represents the path to the directory containing Xcode. On typical installations, the full path should be
/Developer/Library/uninstall-devtools. There is a pdf file within the Developer/Library directory with these and other instructions.
0 comments:
Post a Comment